


These delicious chocolate Zombie Cupcakes make for a spooky Halloween dessert. They are a fun way for families to celebrate the holiday!
Jump to:
There's never a better time to get creative with your dessert making than during Halloween, and really the whole month of October! It's spooky foods time, and these fun and morbid Zombie Cupcakes fall right into place. Add them to your party menu along with Graveyard Pudding Cups, Graveyard Brownies, Spider Donuts and No Bake Brownie Bite Bat Caves to make an eerie epic dessert table! For dinner, check out these adorable mummy hot dogs!
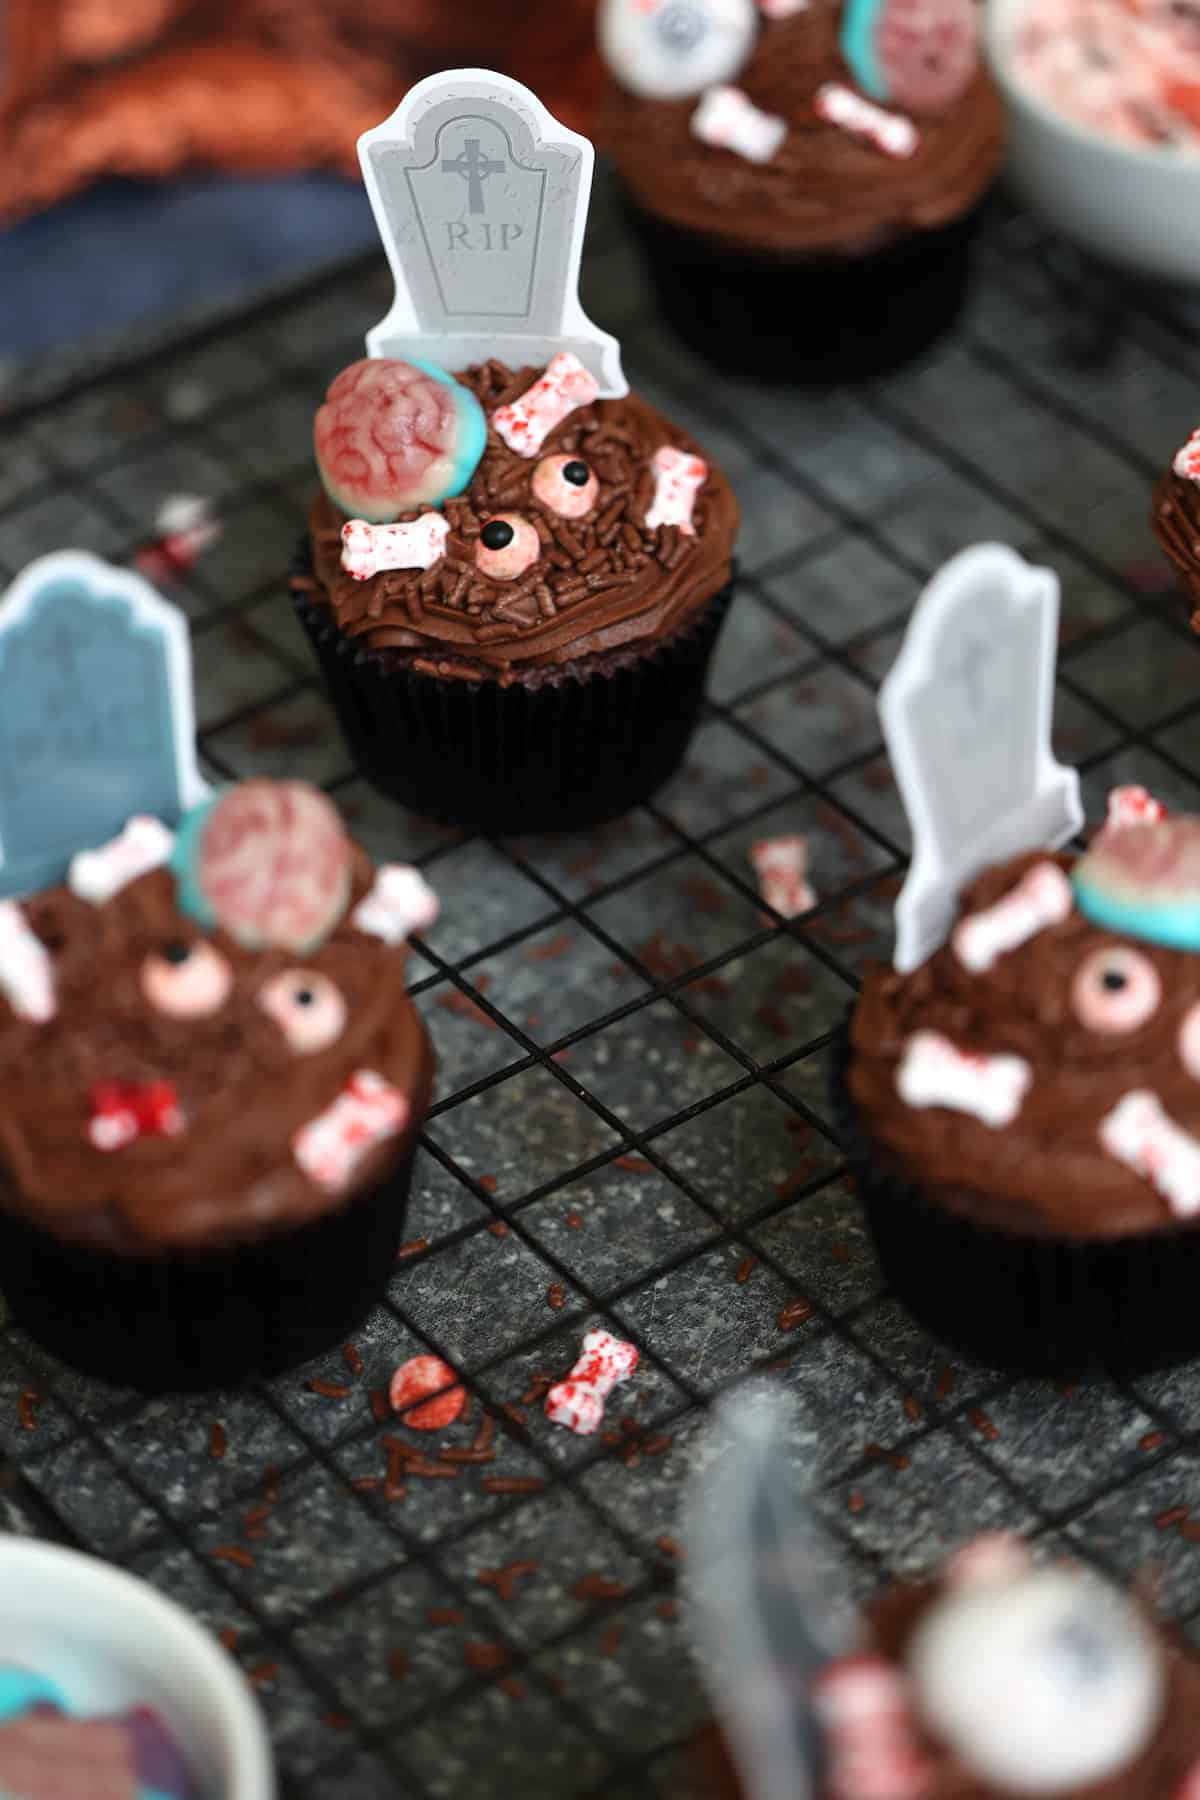
This recipe is simple because it uses a boxed cake mix and a 4 ingredient irresistible homemade chocolate icing (or Nutella buttercream frosting). Decorate the yummy cupcake with a tombstone, bones, eyeballs and a brain and you've got a delicious, yet creepy, dessert for Halloween parties and after trick or treating.
Ingredients
To make chocolate zombie cupcakes you need a box of chocolate cake mix, plus eggs and oil as indicated on the package. The homemade chocolate frosting is made with butter, cream cheese, powdered sugar, vanilla extract and unsweetened cocoa powder.
And to decorate the cupcakes with a zombie graveyard you need:

Instructions
- Preheat the oven to the temperature indicated on the box of cupcake mix (usually 350° Fahrenheit). Line the muffin tin with the liners. Make the cupcake batter as indicated on the package and fill each liner ⅔ full. Bake for the time indicated on the box, usually 18-20 minutes. Remove cupcakes from the oven when done and place on your decorating workspace. Let the cupcakes cool for at least 1 hour before frosting.
- When the cupcakes have cooled make the chocolate frosting. Combine the softened butter, cream cheese and vanilla extract in a large mixing bowl. Using the electric hand mixer, beat on medium speed until smooth, about 1 minute. Add unsweetened cocoa powder and beat on medium speed until smooth. Add the powdered sugar 2 cups at a time and continue to beat on low speed until smooth.
- Choose your piping tip and secure it to the piping bag. Fill the piping bag with frosting. Twist the top where the frosting ends and hold securely while squeezing the frosting in a circular fashion onto each cupcake.
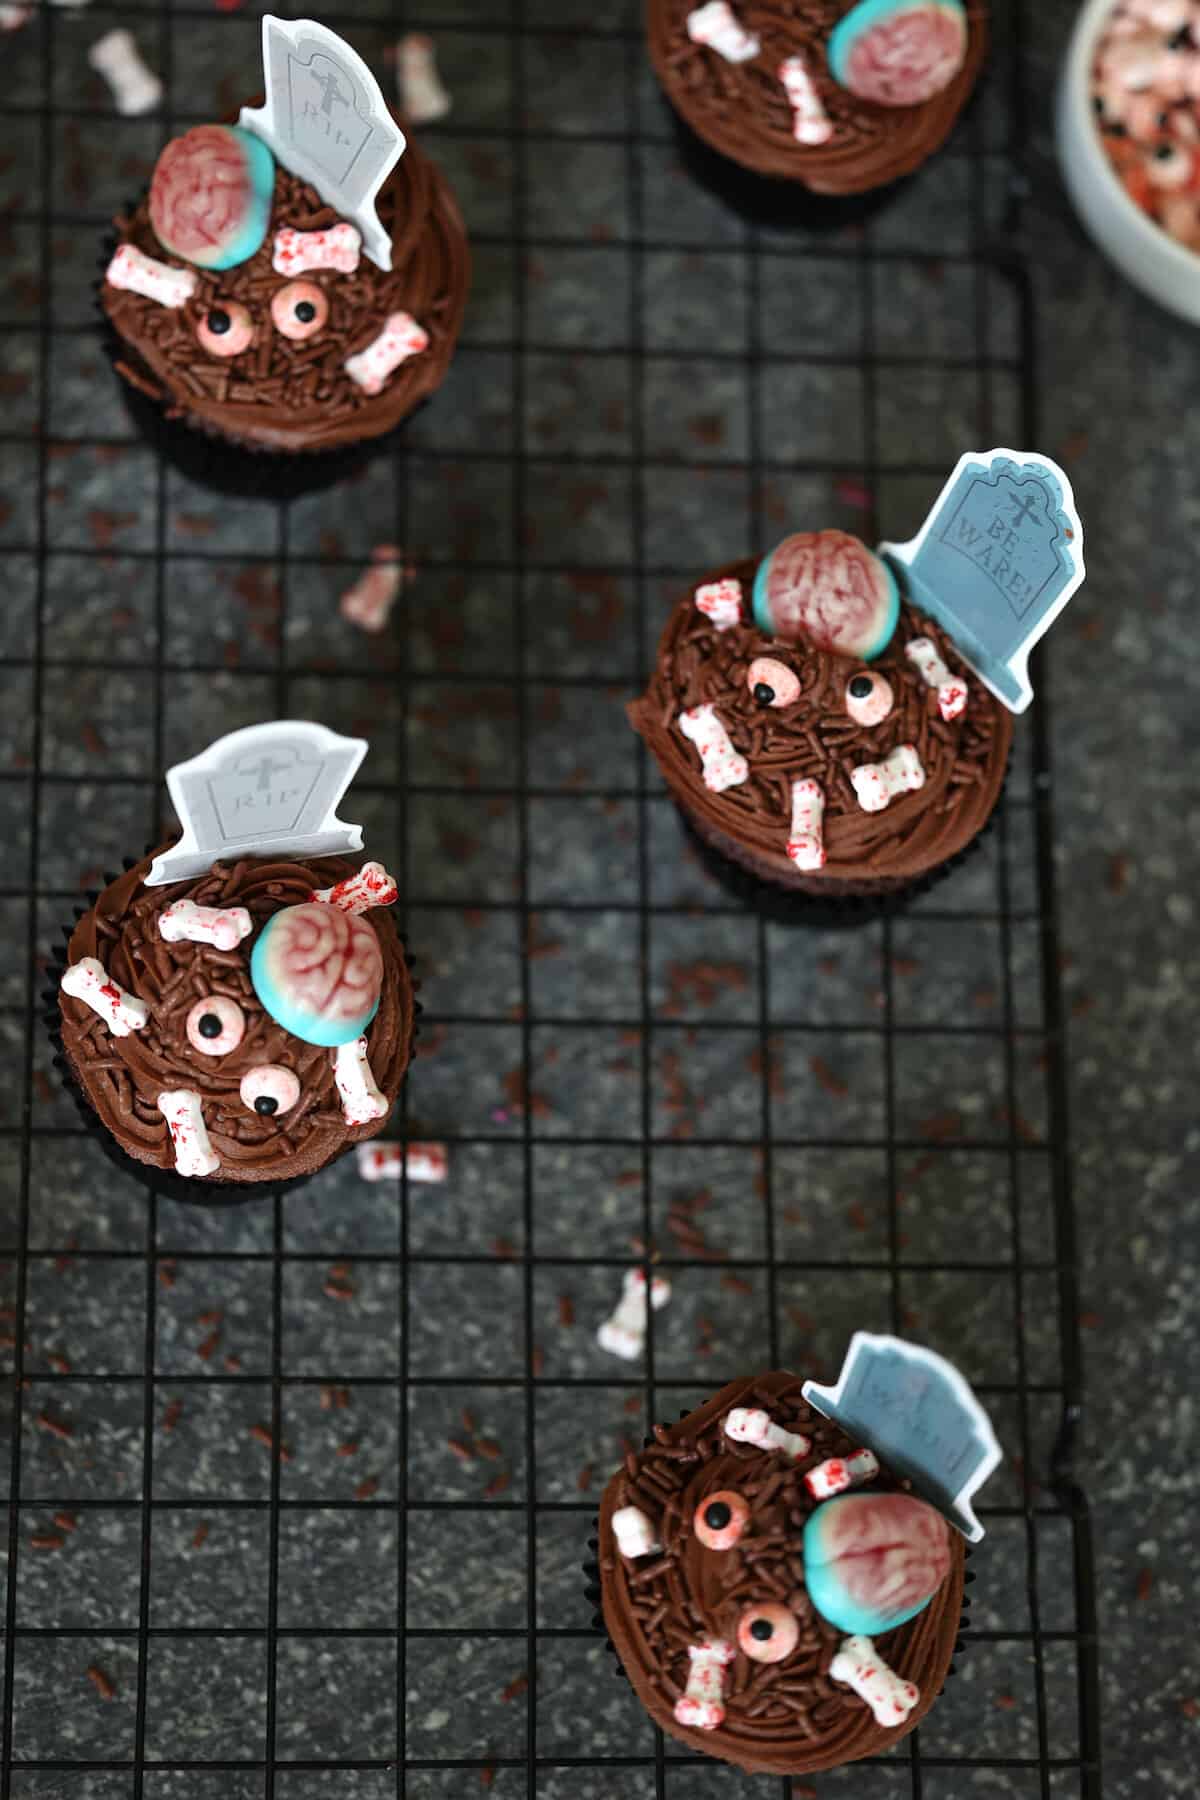
- Sprinkle each frosted cupcakes with chocolate jimmies and stick a tombstone cupcake topper into the cupcake. Arrange the zombie brain, candy eyes and bones to create a graveyard.
- Transfer the decorated cupcakes to the fridge to chill and set the frosting. Serve within a few hours or within 2 days for the best results.
Substitutions
There are so many possibilities in making zombie cupcakes so get creative and use the candy and decorations you have on hand or that are available to you. Here are some suggestions for ingredient substitutions:
- Use crushed Oreos instead of chocolate sprinkles to make the graveyard dirt.
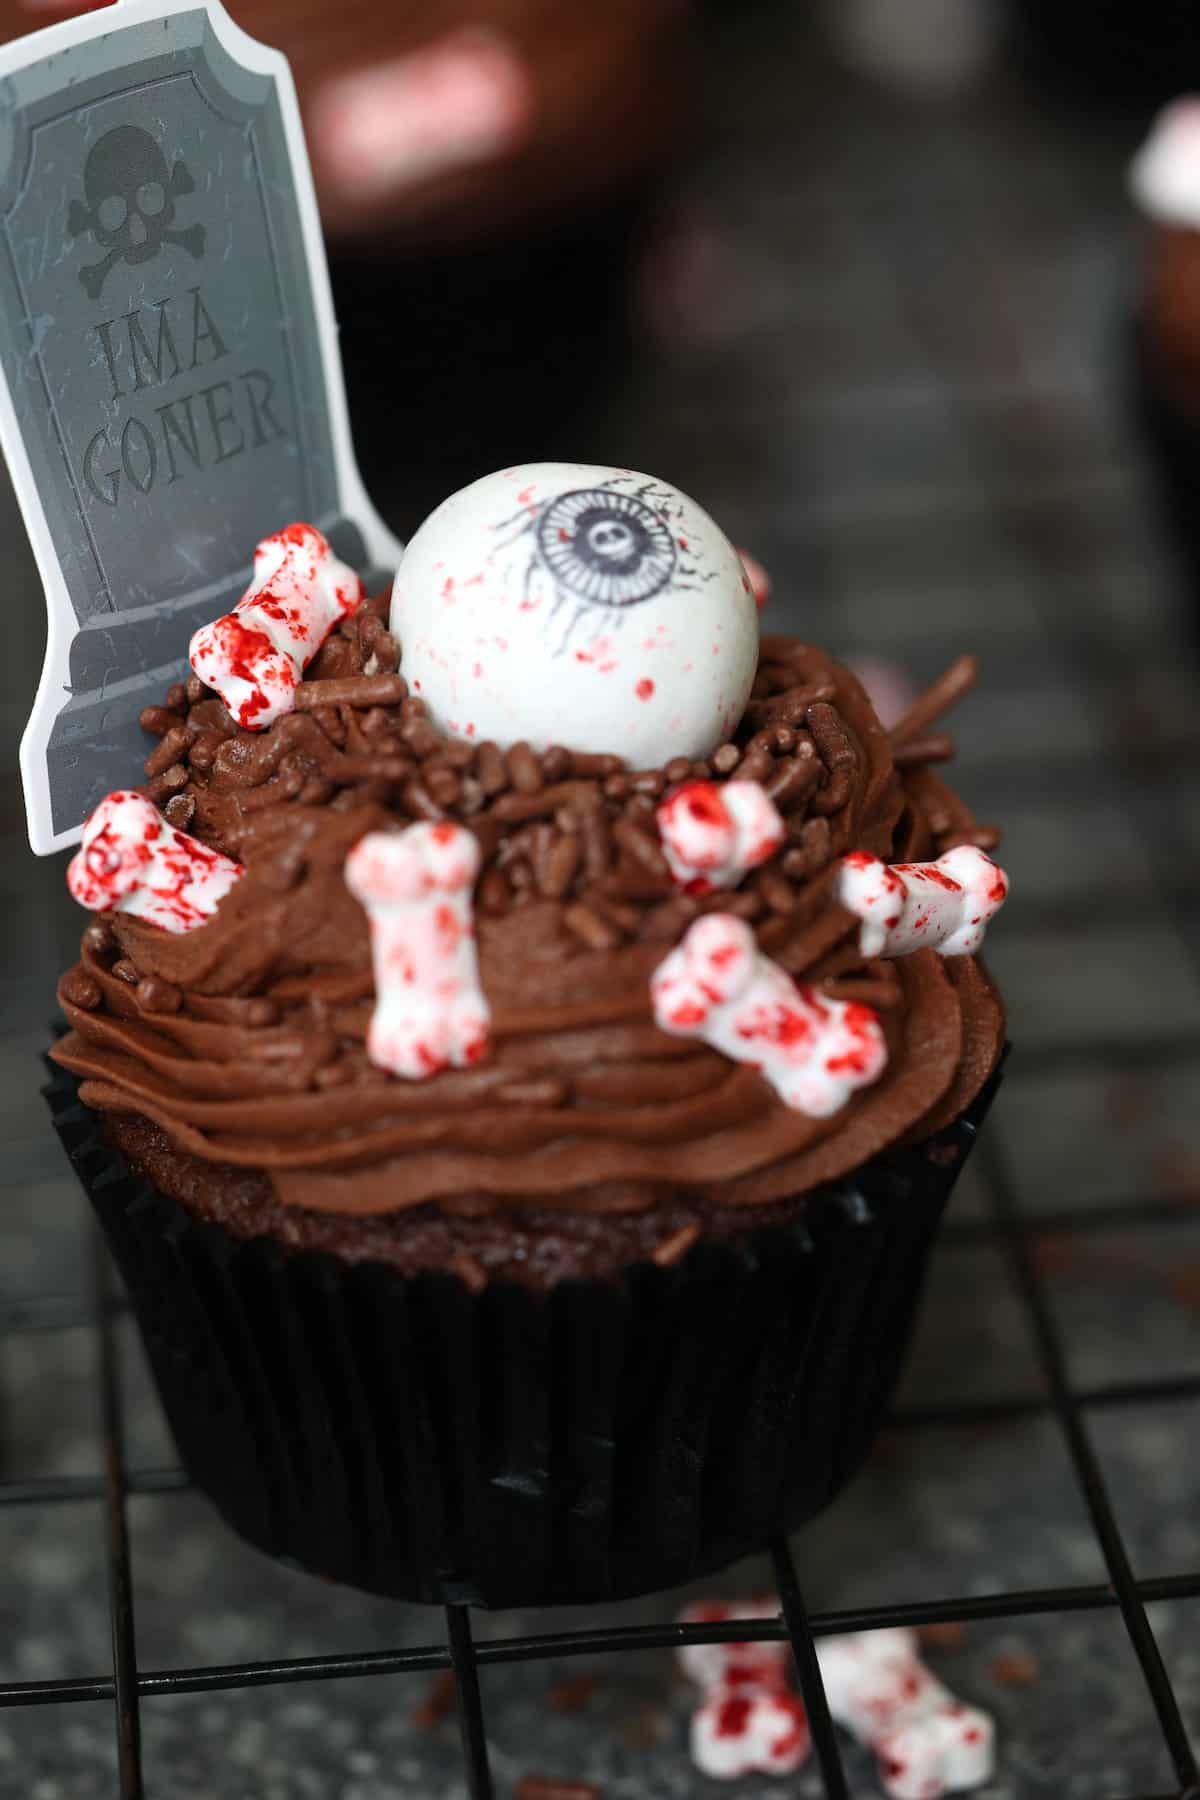
- Make the tombstones edible by using a silicone mold and candy melts. This will take a little more time, as you need to wait for the candy melts to harden in the molds for a little bit. You can also use a Milano cookie and use red gel coloring or black writing icing to write RIP on the cookie and turn it into a gravestone.
- Add big candy eyeballs rather than gummy brains and small candy eyes.
- Add gummy hands or spiders.
Variations
- Gluten-free: easily make it gluten free by using a gluten-free cupcake mix
- Vanilla version: although they won't look as dark and spooky, choose a vanilla cupcake mix and icing, then decorate them with chocolate sprinkles to make dirt.
Equipment
You'll need a large mixing bowl, 2 standard size cupcake pans and a whisk to make the cupcake batter. To make the frosting, you'll need an electric stand mixer or electric hand mixer, plus a good piping bag and piping tips. I use this reusable piping bag and love it because it's easy to clean and you can change the piping tip while the bag is full of frosting without making a mess.
How To Store
Zombie cupcakes are best eaten fresh but can be stored in the fridge for up to 4 days for optimal quality.
Recipe FAQs
I use 1 box of cake mix to make 18 cupcakes. The box usually states that it can make 24 cupcakes, but this is if you fill the liners only ½ with batter. I find that doing this makes very small cupcakes that haven't risen past the liner at all. So I fill my liners ⅔ of the way to get 18 higher, bigger cupcakes rather than 24 small ones.
Yes! To make zombie cupcakes in advance, only prepare the cupcake batter and bake the cupcakes. Don't ice them until a fews to a few days before wanting to serve. You can refrigerate the baked cupcakes for up to 1 week or freeze them for up to 6 months before defrosting and decorating.
Recipe

Zombie Cupcakes
Equipment
Ingredients
- 1 box chocolate cake mix, plus eggs and oil as indicated on package
- ½ cup butter, softened
- 8 oz cream cheese, softened
- 1 tablespoon vanilla extract
- ¼ cup unsweetened cocoa powder
- 4 cups confectioner's sugar
- 1 cup chocolate jimmies
- 70 candy bones
- 40 bloody candy eyes
- 18 Halloween gummy brains
Instructions
- Preheat the oven to the temperature indicated on the box of cupcake mix (usually 350° Fahrenheit). Line the muffin tin with the liners. Make the cupcake batter as indicated on the package and fill each liner ⅔ full. Bake for the time indicated on the box, usually 18-20 minutes. Remove cupcakes from the oven when done and place on your decorating workspace. Let the cupcakes cool for at least 1 hour before frosting.
- When the cupcakes have cooled make the chocolate frosting. Combine the softened butter, cream cheese and vanilla extract in a large mixing bowl. Using the electric hand mixer, beat on medium speed until smooth, about 1 minute. Add unsweetened cocoa powder and beat on medium speed until smooth. Add the powdered sugar 2 cups at a time and continue to beat on low speed until smooth.
- Choose your piping tip and secure it to the piping bag. Fill the piping bag with frosting. Twist the top where the frosting ends and hold securely while squeezing the frosting in a circular fashion onto each cupcake.
- Sprinkle each frosted cupcakes with chocolate jimmies and stick a tombstone cupcake topper into the cupcake. Arrange the zombie brain, candy eyes and bones to create a graveyard.
- Transfer decorated cupcakes to the fridge to chill and set the frosting. Serve within a few hours or within 2 days for the best results.
Notes
Nutrition


Marta says
I made these zombie cupcakes with a friend's grandchildren and they were so excited about the baking project. The flavor was great thanks to the boxed cake mix and it was so easy to make!
Gloria says
Super cute for Halloween. I know my grandkids would get a kick out of these. I will print this off, and make them some.
Sophie says
The creative design of these cupcakes is so fun! I will make them for sure for my Halloween gathering.
Lauren Michael Harris says
I just know my kids are going to love making these zombie cupcakes. The gummy brains and bloody eyeballs are definitely must haves for this creepy cupcakes!
Bernice says
How cute! I love these kind of fun and easy ideas...anyone can do this, even me! I know the kids will reach for these first on Halloween.
Veronika says
This is such a fun cupcakes idea for the Halloween! Easy to make and kids will love it 😉
Tammy says
Ahh these cupcakes look so good! What a fun and festive dessert for Halloween and cute to make together too!
Erin says
These cupcakes were so easy and fun! My son just loved making them. We're trying out recipes for Halloween and these definitely made the cut!
Sean says
I love Halloween themed cupcakes and these were just right up my alley and perfect for my cousins.
Dee says
How cute! What a fun Halloween cupcake. Gotta add to my party menu!