


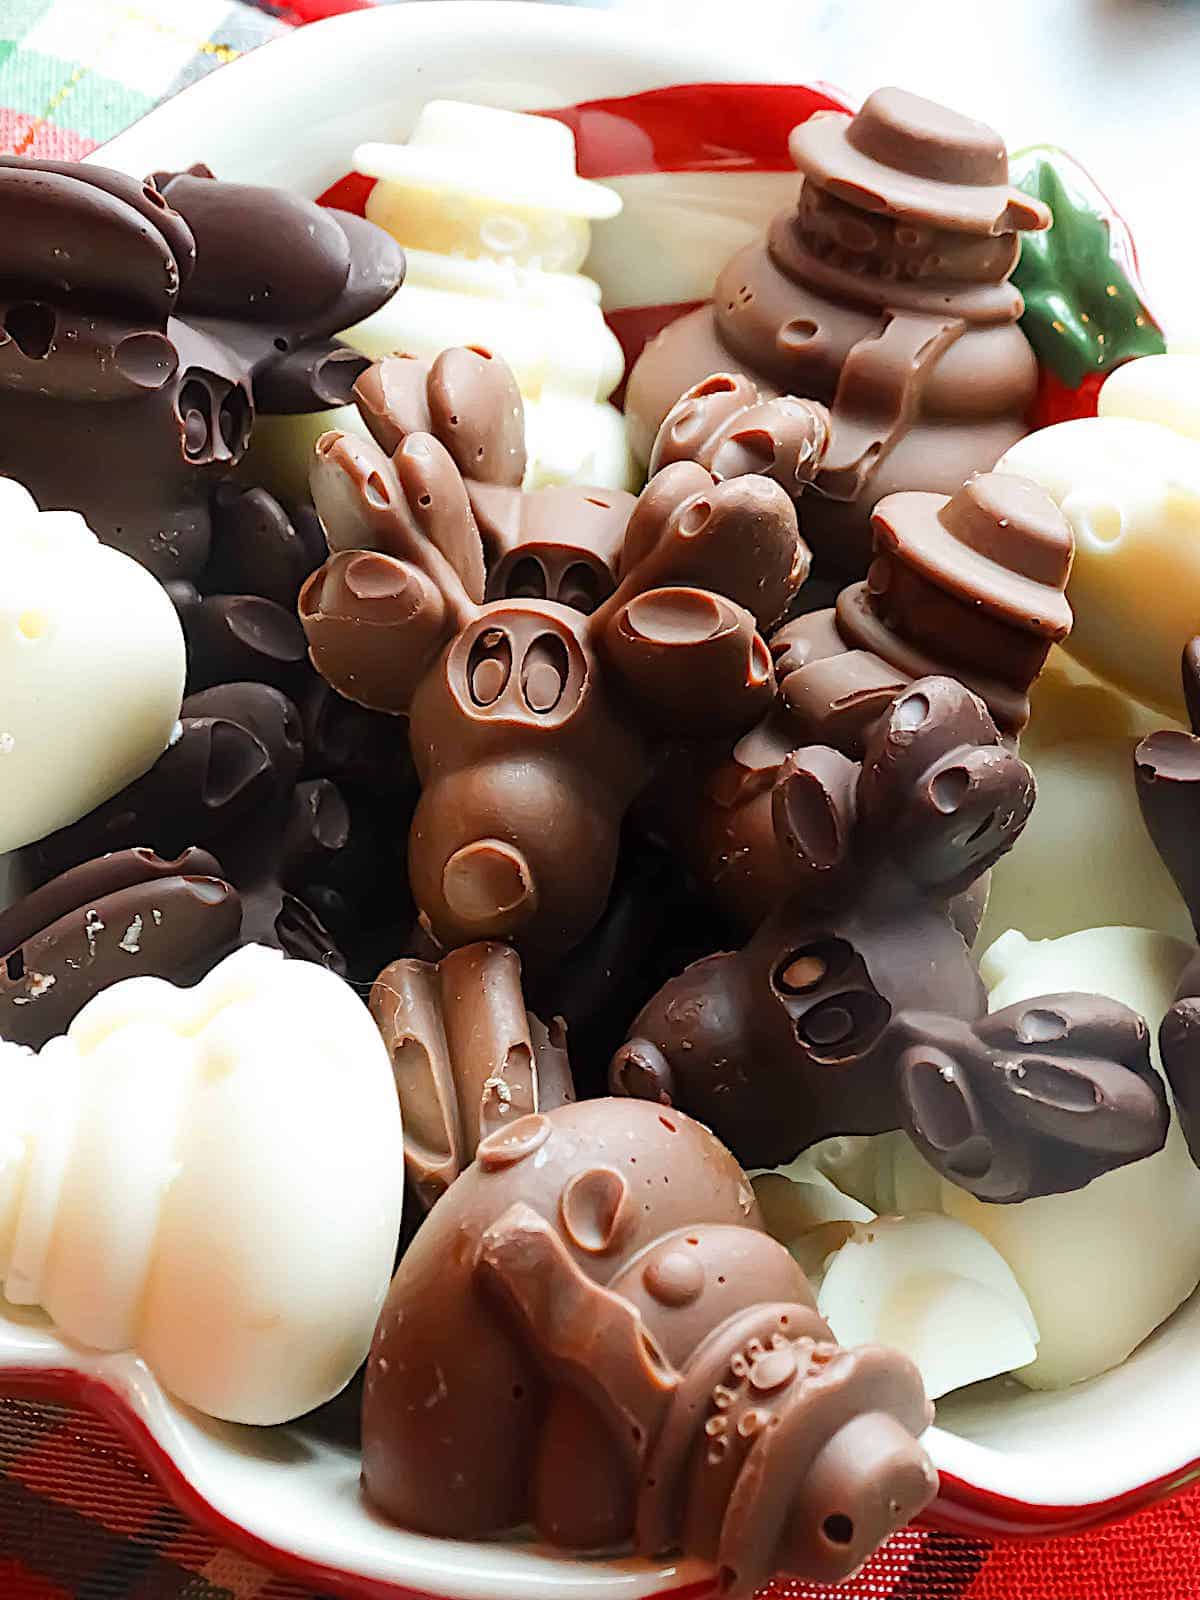
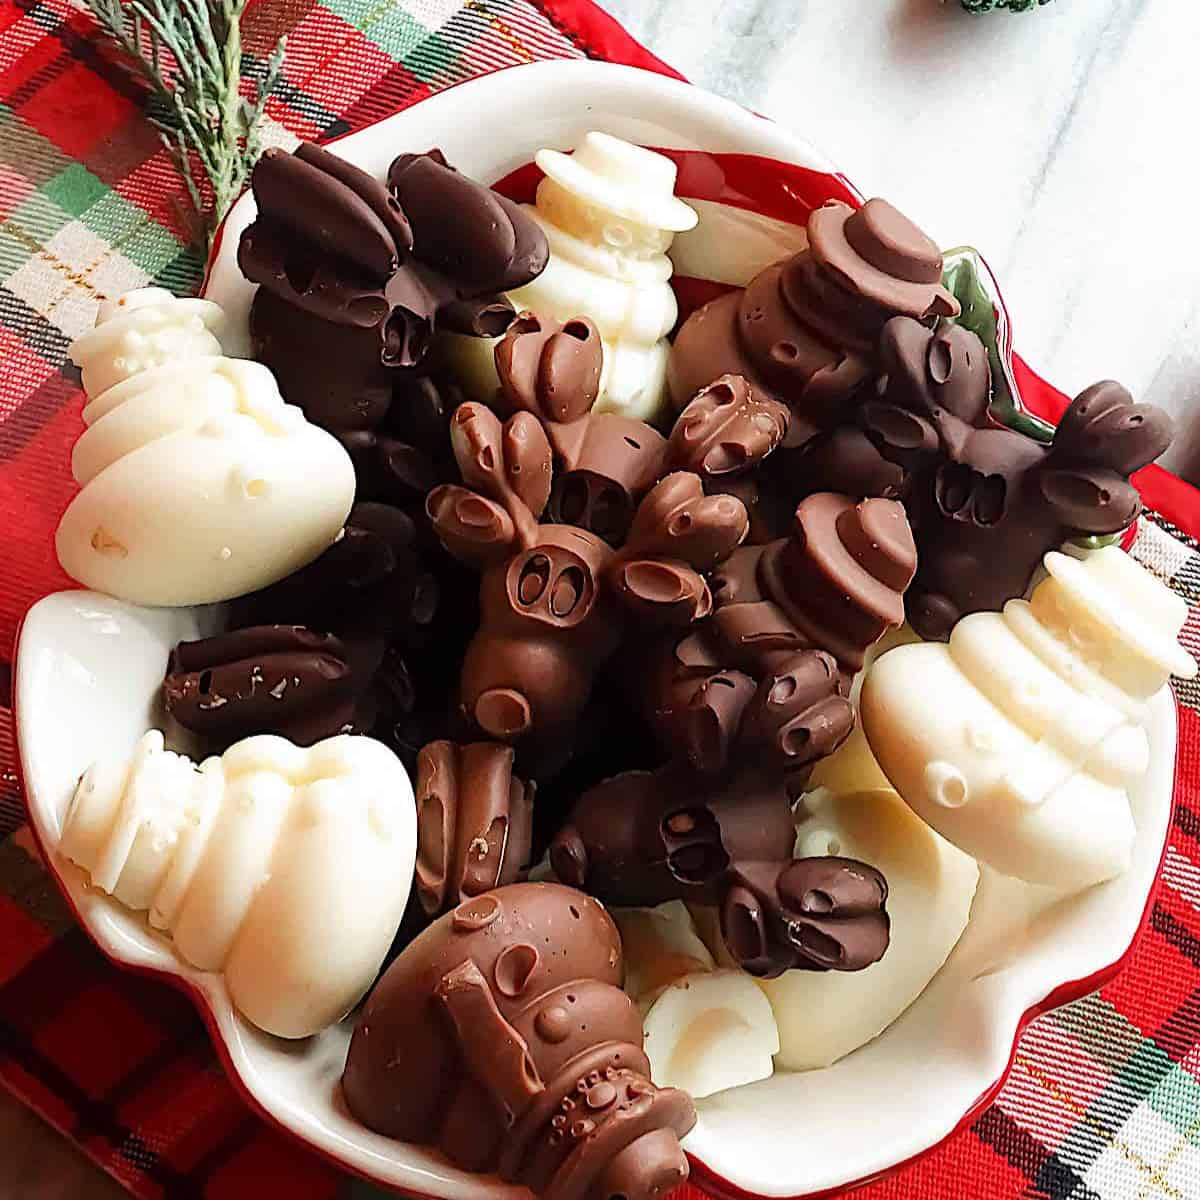
This easy DIY Christmas chocolate is made using creamy melted chocolate and cute Christmas candy molds. Ready in just 25 minutes! These can be made with white, milk, or dark chocolate and left plain or filled with almonds, cherries, or other nuts.
Jump to:
Homemade Chocolate Christmas Candy is so easy to make! It's fun for kids to help with and they make a charming and thoughtful gift for teachers, bus drivers, coaches, the postman, garbage collectors, and secret Santa parties. We also love making melted snowman cupcakes, festive drop sugar cookies and pizzelles to hand out to friends and family.
The kids will get a certain joy out of passing their chocolate gifts to the cherished adults in their lives, just like mine do! So make creating homemade candy a part of your holiday tradition year after year. It'll give them a memory to pass on to their own families one day.
It requires only a few ingredients, silicone holiday candy molds and just 5 minutes of your time to create a lifetime of cozy memories! We love making these every Christmas along with these reindeer cupcakes, snowman cupcakes and festive charcuterie board.
What You Need
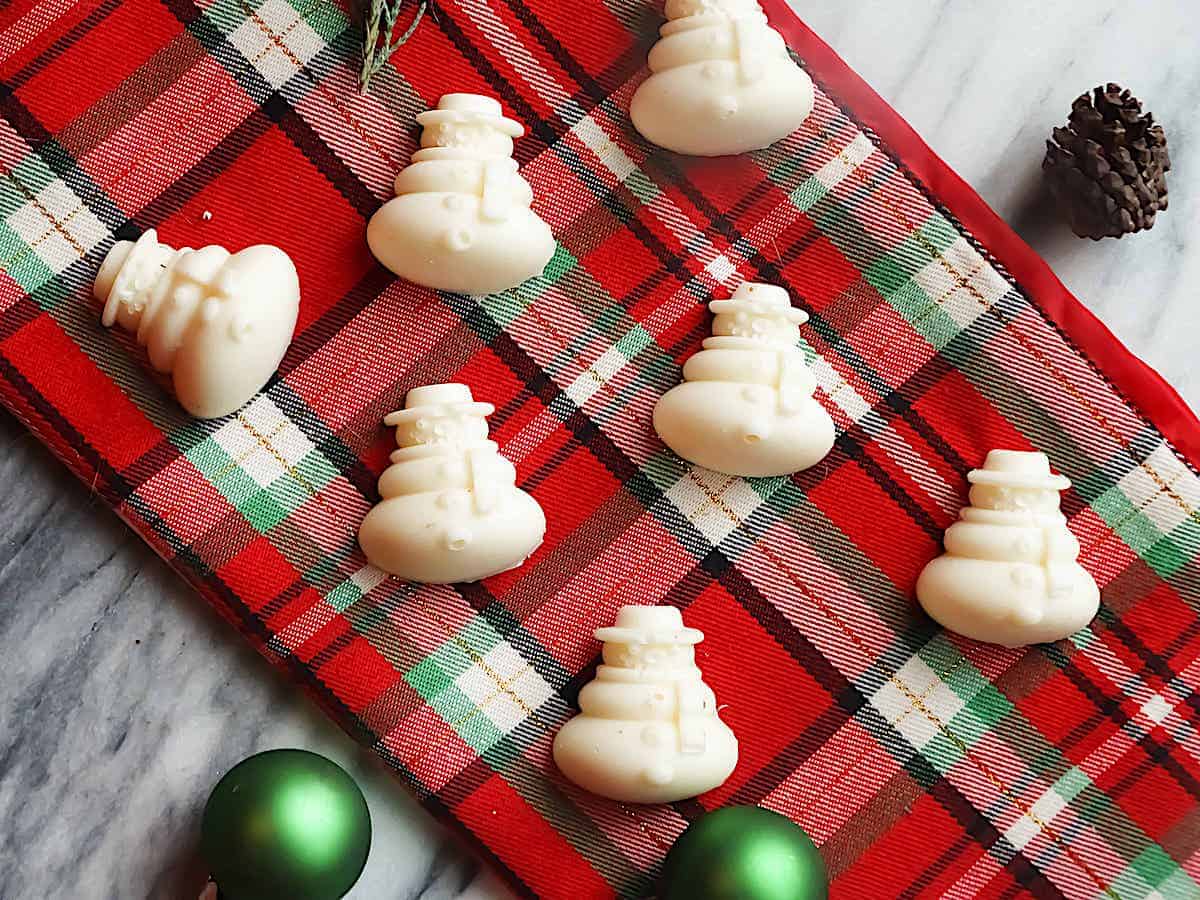
- Chocolate: milk chocolate, white chocolate, or dark chocolate.
- Holiday Silicone Molds: I use silicone molds from Holiday Helpers. You can find them on Amazon, or stores like Bed Bath and Beyond, Christmas Tree Shops, etc.
How To Melt Chocolate
Heating 1 cup of chocolate chips requires microwaving it between 1 and 2 minutes on high, depending on your microwave and the kind of chocolate. It needs to reach 130 degrees Fahrenheit to be ready to pour into the molds.
It only takes a few seconds to go from a perfectly pourable chocolate to a burnt one. You'll know the chocolate is burnt when it hardens in pockets. It's important to work slowly while heating it and being careful not to overheat it.
- Put the chocolate chips in a measuring glass and heat for 30 seconds. Stir, then heat for another 30 seconds. Stir again.
- If it's not fully melted after 1 minute, continue to heat in 10 second increments, stirring and checking the temperature in between.
Chocolate Melting Times
Dark chocolate: ~60 seconds (1 minute)
White chocolate: ~90 seconds
Milk chocolate: ~120 seconds (2 minutes)
Step-By-Step Directions
- Melt your choice of chocolate following the steps and timing outlined above.
- Pour or scoop the melted chocolate into the molds with a spoon. Once all are filled, scrape the excess chocolate off. This will level out the back of the chocolate. Gently tap the filled mold on the counter to get rid of any air bubbles.
- Let cool in the fridge for at least 20 minutes. To remove the chocolate from the molds, gently twist the mold back and forth like you would when trying to loosen ice cube trays. Gently pop out each candy and enjoy!

Variations
You can get pretty creative and add a variety of fruit and nuts to your chocolate Christmas candy. Crush, chop or keep whole the below additions and add to your chocolate once it's melted or into the candy molds themselves.
MILK CHOCOLATE ADD INS
- Pretzels
- Almonds
- Peanuts
- Cherries (add 1 cherry to each mold after the chocolate)
- Coconut shreds
DARK CHOCOLATE ADD INS
- Sea salt
- Almonds
- Hazelnuts
- Cherries
- Espresso beans
WHITE CHOCOLATE ADD INS
- Sea salt
- Dried cranberries
- Hazelnuts
- Macadamia nuts
- Pretzels
DIY Chocolate Making Tips
It will take about 2 minutes to fully melt milk chocolate, 90 seconds to melt white chocolate, and 60 seconds to melt dark chocolate.
Store chocolate candies in a room slightly cooler than room temperature in an airtight container or in the refrigerator for up to 10 days.
If the chocolate burns while melting, it will need to be discarded and new chocolate used.
Recipe
Homemade Chocolate Christmas Candy
Ingredients
- 1 cup chocolate chips, milk, white, or dark
Instructions
- Put the chocolate chips in a measuring glass and heat for 30 seconds. Stir, then heat for another 30 seconds. Stir again.
- If it's not fully melted after 1 minute, continue to heat in 10 second increments, stirring and checking the temperature in between until it reaches 130°F.
- Pour or scoop the melted chocolate into the molds with a spoon. Once all are filled, scrape the excess chocolate off. Gently tap the filled mold on the counter to get rid of any air bubbles.
- Let cool in the fridge for at least 20 minutes. To remove the chocolate from the molds, gently twist the mold back and forth like you would when trying to loosen ice cube trays. Gently pop out each candy
Notes
Nutrition


Colleen says
These little chocolates are adorable!
Zhen says
This was so simple and delicious! Made them with some kids and it was the perfect family project!
veenaazmanov says
Best time of the year to start preparations. These are so creative and easy to make. Love the Add on ideas to make these more yummy, nutty and fruity.
Silvia says
This is so easy! I had a bunch of silicon molds at home and gave it a try. I’ll make them again with the kids for Christmas Day.
Amanda says
These are adorable! Thank you for posting the link to where I can get these molds! Just ordered them! I can't wait to make these for Christmas!
Adriana says
Totally in love with these homemade holiday-themed chocolates! Perfect for gifting and adding to cookie tins. So many good ideas for flavor variations too.
Jamie says
Such an amazing chocolate recipe that looks so delicious and cute too! A perfect treat for this Holiday season! Kids will definitely love it!
Mindy says
I used semi sweet chocolate chips and it turned out amazing. Definitely trying the white chocolate version the next time
NATALIA says
I can’t get enough chocolate recipes, and this one looks perfect! Definitely going to give this a go these holidays, thank you so much for the recipe!
Amy Liu Dong says
These are cute chocolate candies. The perfect gift to give these Christmas!
Enriqueta says
Thank you for sharing the link so I could order the silicone molds to make these chocolate candies. I cannot wait to make this recipe! Thank you for the inspiration!
Ramona says
This recipe is such a good idea to make with kids over the holidays this festive time. Thank you so much for sharing!
Giangi Townsend says
It was easy and not too sweet. I put it as an edible design for our Christmas cake and it looks fun and festive. Thank you.